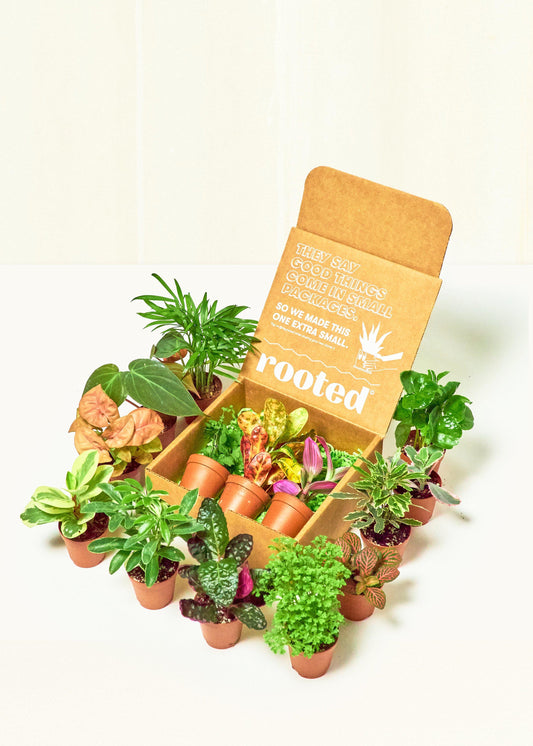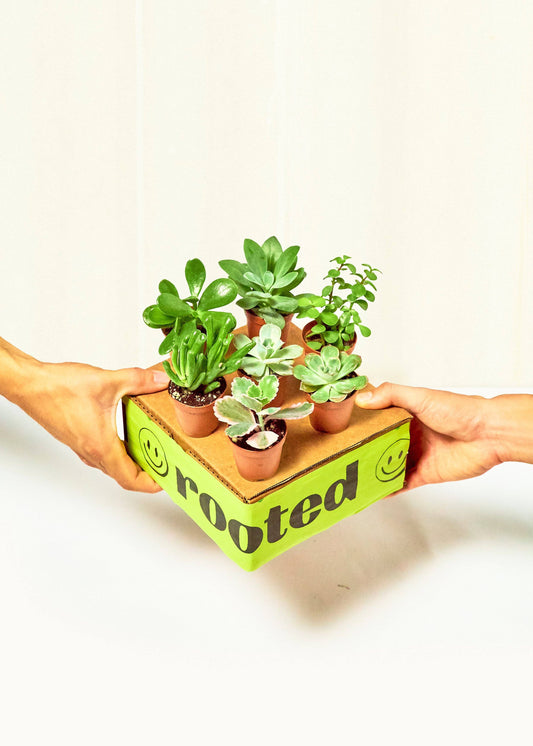
Say it with a plant (and a personalized note)
This form lets you add a message to your gift and schedule when to send it. Perfect for every “I love you,” “thank you,” or “sorry I killed your last plant.”
Your cart

Work is tough, plant care is easy. Tips, tricks, and everything in between.

There’s something a bit addictive about Purple Passion Plant propagation. Once you’ve got one of these fuzzy, purple-tinged beauties growing well, it’s hard not to want a few more. The...
There’s something a bit addictive about Purple Passion Plant propagation. Once you’ve got one of these fuzzy, purple-tinged beauties growing well, it’s hard not to want a few more. The...

Both philodendron and pothos are popular indoor vines, with lush leaves that are often variegated and heart-shaped. That’s why many beginning plant enthusiasts wonder, ‘How do I know if I...
Both philodendron and pothos are popular indoor vines, with lush leaves that are often variegated and heart-shaped. That’s why many beginning plant enthusiasts wonder, ‘How do I know if I...

Prayer Plants are gorgeous, but they can be a bit dramatic when watering isn’t quite right. One week, they look perfect, the next, they’re curling their leaves like they’ve had...
Prayer Plants are gorgeous, but they can be a bit dramatic when watering isn’t quite right. One week, they look perfect, the next, they’re curling their leaves like they’ve had...

The String of Pearls is a delightful succulent that’s so much fun to grow. But it’s tricky to know how often to water String of Pearls, causing many plant owners...
The String of Pearls is a delightful succulent that’s so much fun to grow. But it’s tricky to know how often to water String of Pearls, causing many plant owners...

Propagating a Philodendron is one of the easiest ways to grow your plant collection without buying a new plant each time. Once you understand how to propagate a Philodendron, you...
Propagating a Philodendron is one of the easiest ways to grow your plant collection without buying a new plant each time. Once you understand how to propagate a Philodendron, you...

The Money Tree is a popular tropical indoor tree that is believed to bring luck and wealth to its owner. But have you ever wondered how to propagate a Money...
The Money Tree is a popular tropical indoor tree that is believed to bring luck and wealth to its owner. But have you ever wondered how to propagate a Money...
Featured collection